


In this quick article, you will learn how to install PhpMyAdmin on different Linux distributions.
PhpMyAdmin is a free and open-source administration tool for database servers like MySQL and MariaDB. It is a portable web-based application primarily written in PHP, it has become one of the most popular MySQL administration tools, especially for web hosting providers. However, it’s also a great tool for a local development environment.
Before going to the installation for PhpMyAdmin, make sure you have the LAMP stack properly configured in your system. If not then check out this guide: How to install & configure LAMP stack on Linux
Let’s get into the installation and configuration for PhpMyAdmin on Linux.
Installing PhpMyAdmin On Linux
PhpMyAdmin can be easily installtion on different Linux distributions using the package manager. It is already available in the officail repository.
For Ubuntu, Debian or any of their derivatives, use this installation command.
sudo apt-get install phpmyadminFor Fedora, CentOS or Redhat.
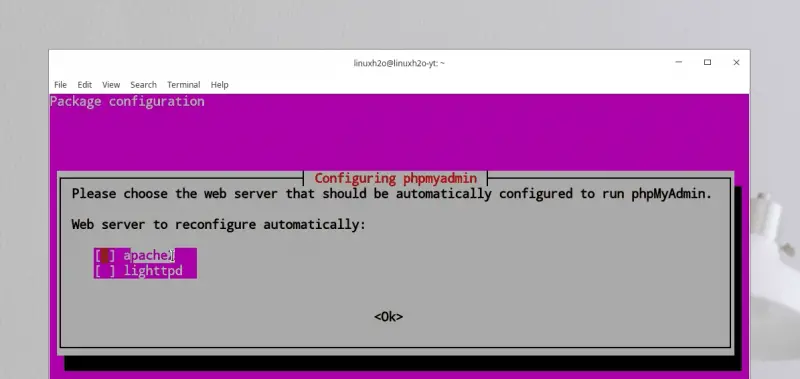
sudo dnf install phpmyadminIn the middle of the installation it will ask you the server that you are using, select the one you are using. For most of you it probably be the apache2.
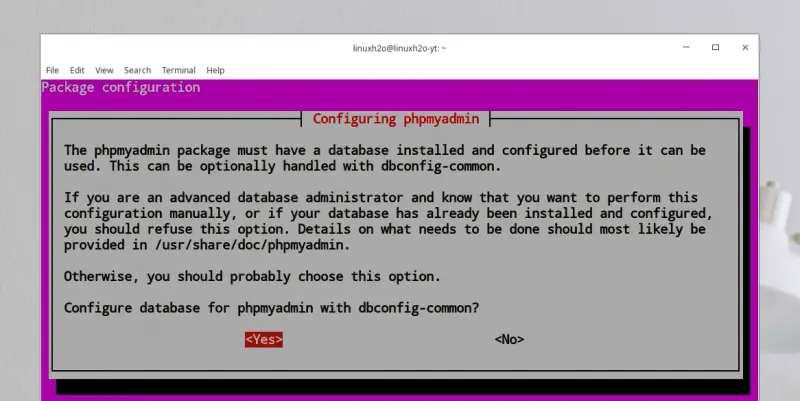
Next, you will be asked to configure database for phpMyAdmin. If you want to automatically configure a database for PhpMyAdmin then choose yes and provide the password for it. Otherwise select no.
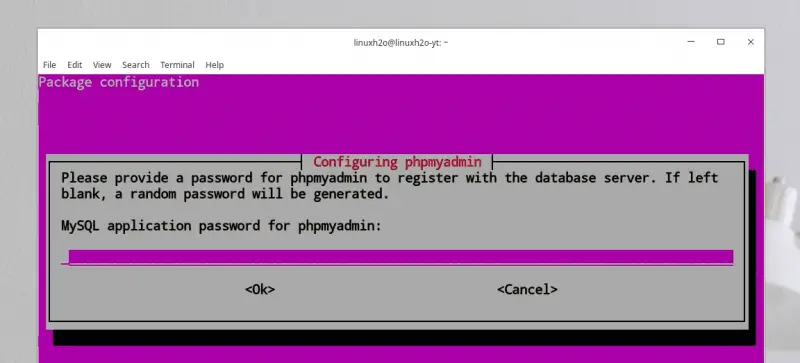
If you chose Yes, then you have to provide a password for it.
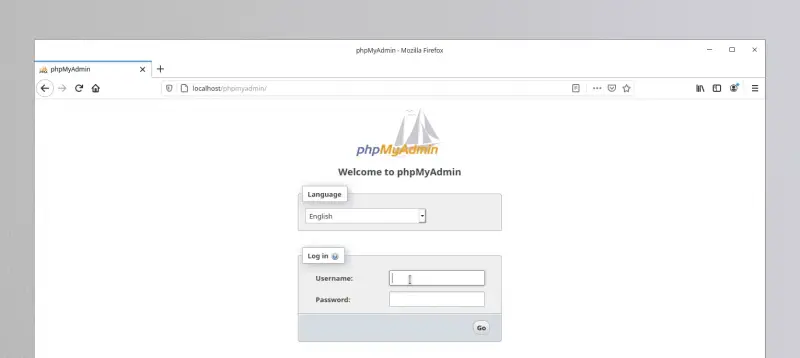
After the installation, you can head on to the server address, if it is installed locally then use the localhost address.
– http://localhost/phpmyadmin
– http://127.0.0.1/phpmyadmin
Some troubleshoot for PhpMyAdmin
You may get, phpMyAdmin not found error on the browser and it probably due to the configuration issue. It can be mitigated using this solution.
sudo ln -s /usr/share/phpmyadmin /var/www/htmlNow simply, restart the server.
On Ubuntu or Debian based distros:
sudo systemctl restart apache2For Fedora, CentOS or Redhat:
sudo systemctl restart httpdWatch Video guide on YouTube
Additionally, You can also watch a step-by-step video guide on YouTube to get a better understanding of it.
Conclusion
So that’s it on how to install and configure phpMyAdmin on Linux. Let me know what you think about it in the comments and subscribe to the LinuxH2O Youtube channel. Till then, keep enjoying Linux.


' font-size='7.328' font-family='dinb, Roboto, sans-serif' letter-spacing='0' word-spacing='0' fill='%23585858'%3E%3Ctspan x='19.173' y='11.062' font-weight='bold' font-family='dinb, Roboto, sans-serif' %3E234+ video guides%3C/tspan%3E%3C/text%3E%3C/svg%3E)


