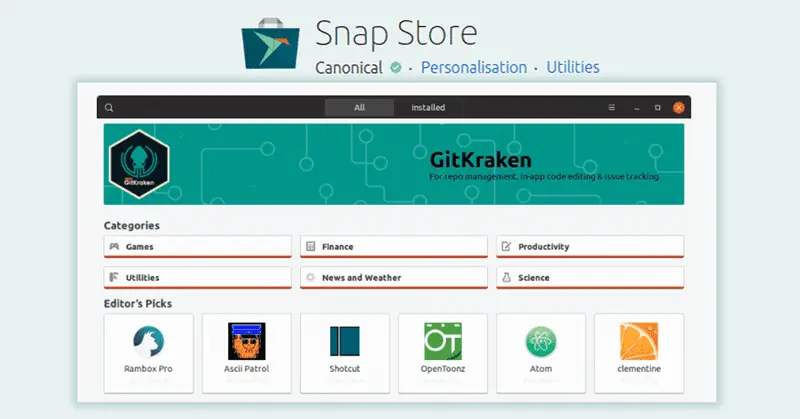
In this Linux tutorial, you will learn about the snap packaging system, You will also learn the basic commands related to snap package management tools and how to use the snap store for managing snap packages.
Info: Snap is created by Ubuntu to streamline the development and installation process for both developers and users.
In the early days of the Linux operating system, we used to compile and install the applications from the source files. Doing so was very tedious and time-consuming. Additionally, the user itself had to manage the dependencies and some related stuff. Basically, it was not something that can be a daily pie in the current era of computer operating systems.
So to simplify this issue, they started to package the source code in a bundle. You know it as a package or application file. These package files became very popular and in fact, we still primarily use them.
But this led us to another problem because we now have many packaging systems such as .deb, .rpm, .eopkg, etc.

And not just the packages but many package management tools as well. We have many package systems and package management tools (apt, zypper, yum, dnf, pacman, etc). Now developers have to build and manage so many packaging systems and users have to learn different package management tools for different Linux distributions.
Fortunately, Ubuntu identified these problems and developed ‘snap’ to resolve such issues in Linux desktops, IoT and cloud at once.
A single snap application package file which we can install on any Linux distribution so it simply a universal installer file. Along with this, you have ‘snap’ a universal package manager to install and manage the applications.
Basics of snap command line
In order to manage snap applications we have two different options.
- Ubuntu Snap Store
- Snap package manager

Also read: Installing applications in Linux | Complete guide
Here are some of the useful snap commands to install and manage snap applications in Linux.
Command for installing a snap application
sudo snap install package-nameCommand to remove snap application
sudo snap remove package-nameList all the installed snap application(s)
snap listResult of the above command:
Name                     Version                Rev   Tracking         Publisher

bombsquad                1.4.150                3     latest/stable    popey
canonical-livepatch      9.5.5                  95    latest/stable    canonical*
gnome-3-34-1804          0+git.3009fc7          36
gtk-common-themes        0.1-36-gc75f853        1506
orchis-themes            1.0                    1     latest/stable    gantonayde
snap-store               3.36.0-80-g208fd61     467   latest/stable    canonical*
Search for an application in snap repository:
sudo snap find package-nameCommands to update snap application(s)
sudo snap refresh package-name // For single applicationsudo snap refresh // To update all at onceFor all the commands list execute ‘snap’ in the terminal and it will output a command usage manual:
snap help --allResult of the above command:
Usage: snap <command> [<options>...]

Commands can be classified as follows:

  Basics (basic snap management):
    find             Find packages to install
    info             Show detailed information about snaps
    install          Install snaps on the system
    remove           Remove snaps from the system
    list             List installed snaps

  ...more (slightly more advanced snap management):
    refresh          Refresh snaps in the system
    revert           Reverts the given snap to the previous state
    switch           Switches snap to a different channel
...
Watch Video guide on YouTube
Additionally, You can also watch a step-by-step video guide on YouTube to get a better understanding of it.
Conclusion
So that was the complete overview of the snap packaging system and how to use it. Let me know what you think about it in the comment section below and don’t forget to subscribe to the LinuxH2O Youtube channel. Till then, keep enjoying Linux.


